Screening Room Pro Integration
To begin, you need to select if you're on a Mac or a PC.
PC-Setup Mac SetupMac Setup (Sequoia)
If you are using Screening Room pro, here are is a Screening Room Pro Integration Guide.
If you're having any difficulties, visit out troubleshooting guide or contact us at support@capsulemedia.com
If you need to re-install the listener software, view the instructions.
Screening Room Pro
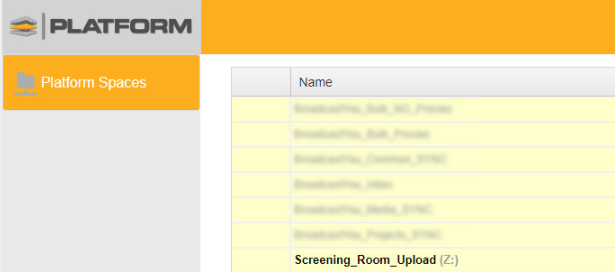
1. Mount Screening_Room_Upload
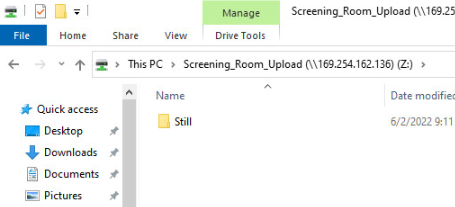
2. Once mounted, go to the drive. This is what it looks like on a PC. You will find a folder called Still.
3. Drop your File(s) in the root.
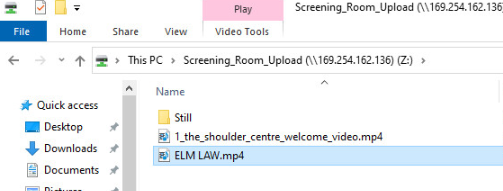
4. This is an automated watch folder. The files will get uploaded to your screening room.
Once the files are uploaded they will be removed from this drive.
5. Go to http://mediahub.local:8080 and you’ll see the PodASS Dashboard.
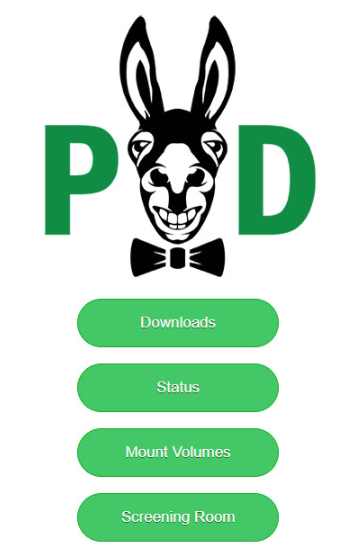
6. Click on Screening Room
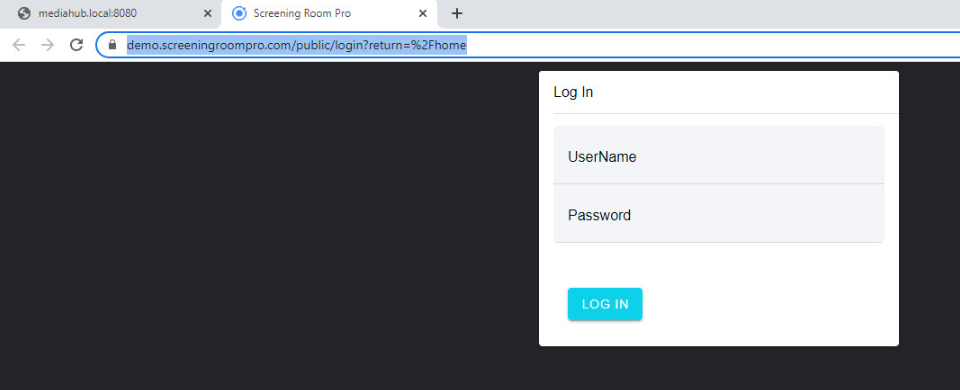
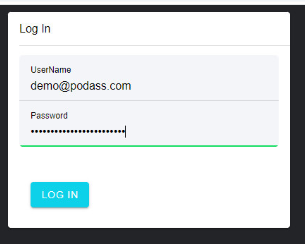
7. Log in using your credentials. If you do not have your credentials, contact us at support@capsulemedia.com.
8. Once logged in you should see a screen like this.
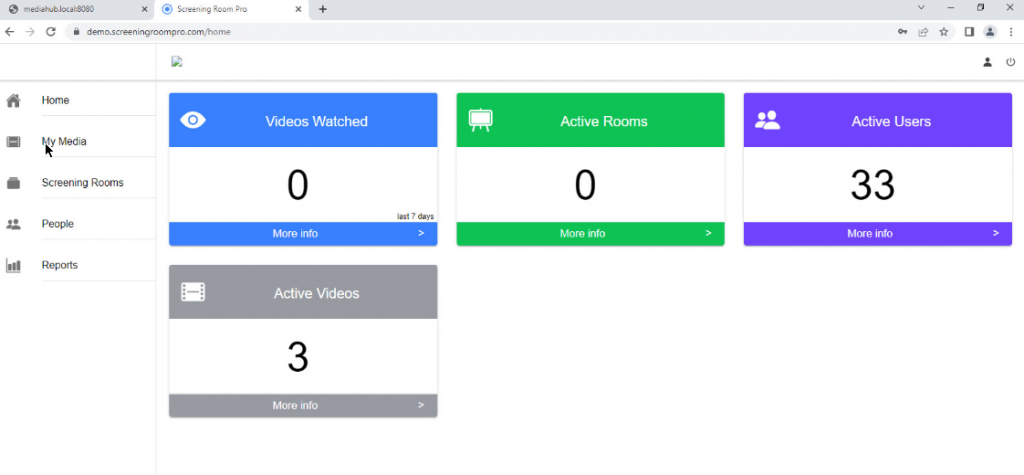
This is the Dashboard. From here you can click on “My Media” on the left side.
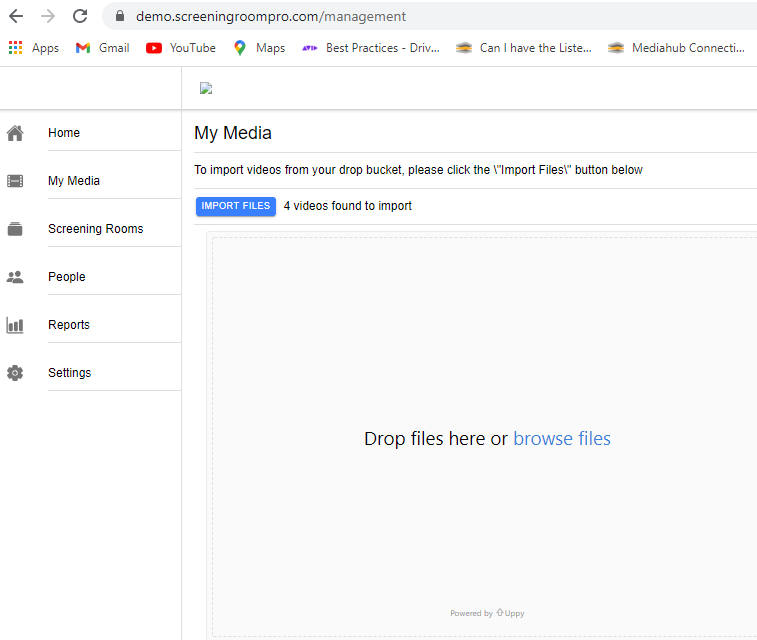
9. Below you can see there are files files ready to import.
In this example, we uploaded 2 files. During the upload process a thumbnail is created for each video.
You now have the option to click “Import Files” or wait for the automatic import of new files (Every 5 Minutes).
10. Once the videos are imported you can scroll down to see them.
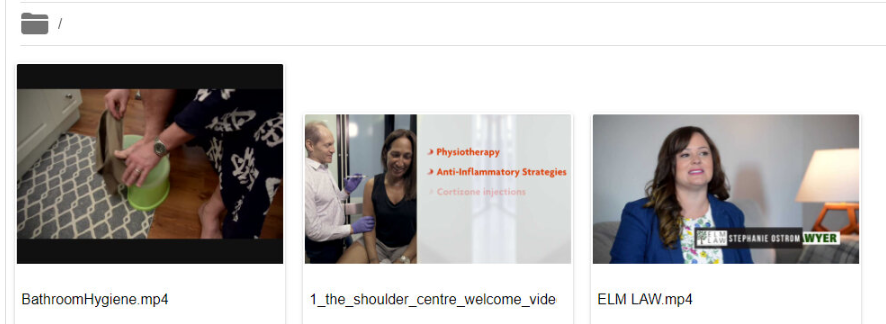
The two uploaded files will be at the end of the video’s there was one previously uploaded.
Please keep in mind these upload specs when making your MP4’s for the screening room
540p – Standard Screening Room MP4
Video: AVC H264 (High@L3.1) 2500 Kbps – 960×540 16:9
Audio: AAC (LC) 164 Kbps – 48 KHz Stereo
720p – High Screening Room MP4
Video: AVC H264 (High@L4.0) 4500 Kbps – 1280×720 16:9
Audio: AAC (LC) 192 Kbps – 48 KHz Stereo
Max file size is 5GB.
11. You can now click on any video to preview it.
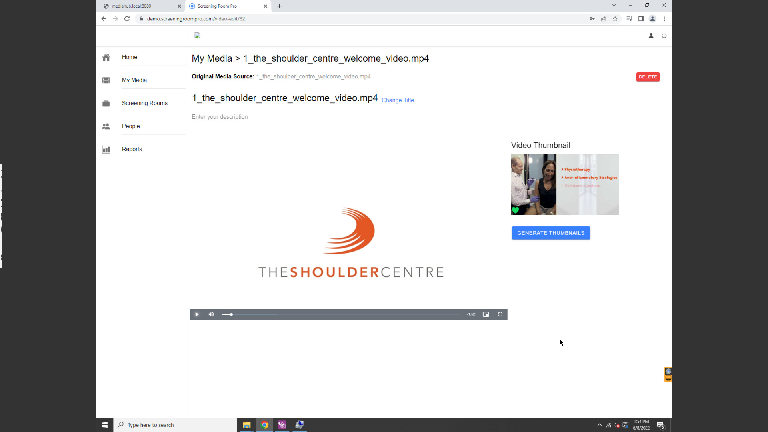
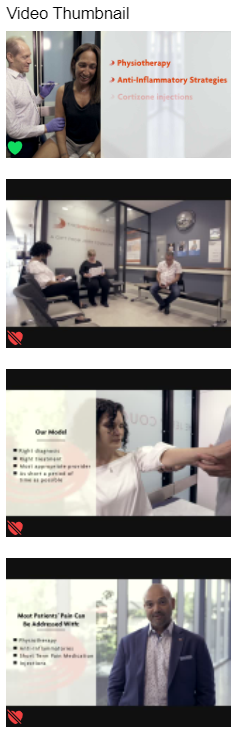
12. Optionally you can generate more thumbnails by pressing the “Generate Thumbnails” button.
Thumbnails will be generated in the background.
13. Now that you have Videos in your screening room you can create Screening rooms to send out for people to view.
Click on “Screening Rooms”
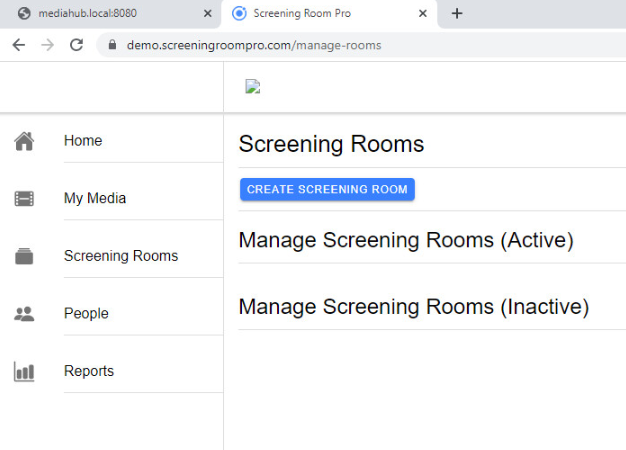
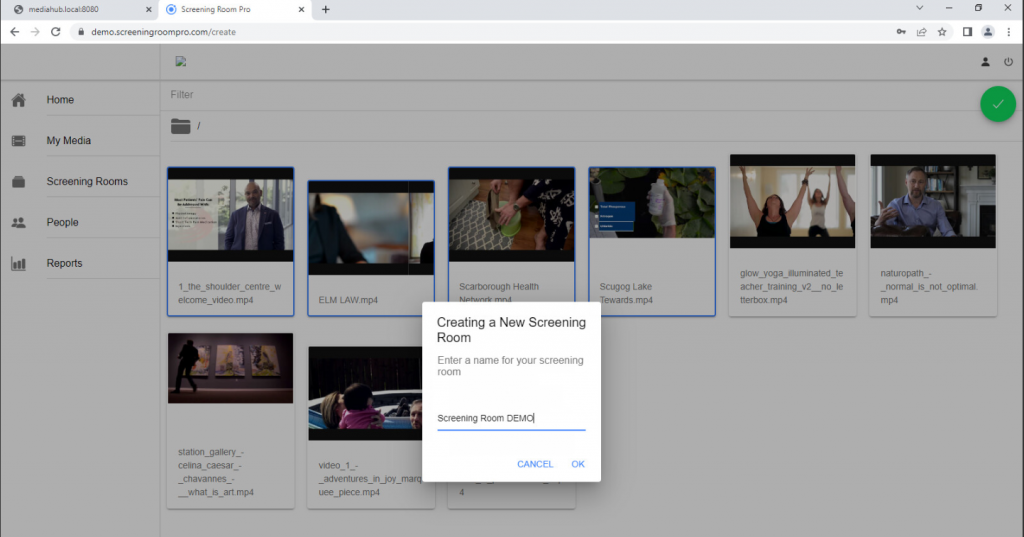
14. Here you can manage all your screening rooms Click on “Create Screening Room” to create a new screening room.
It will show you all your Video’s Select which ones you want in the screening room.
Once you have selected your video’s they will be highlighted with a blue boarder. click on the Green Checkmark Button in the top right corner.
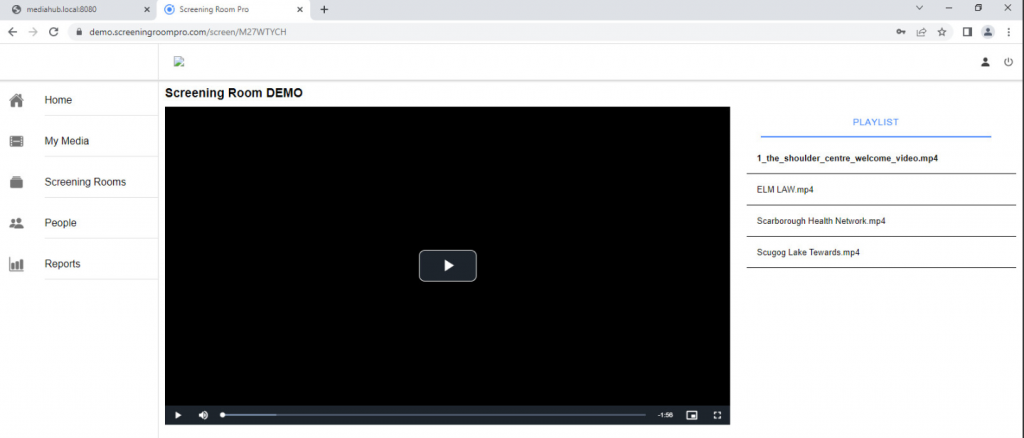
15.Give you room a name click ok.
The room is now created. On the right hand side you will see the list of Videos in the room.
16. Now go back to “Screening Rooms” and you will see the new screening room you created.
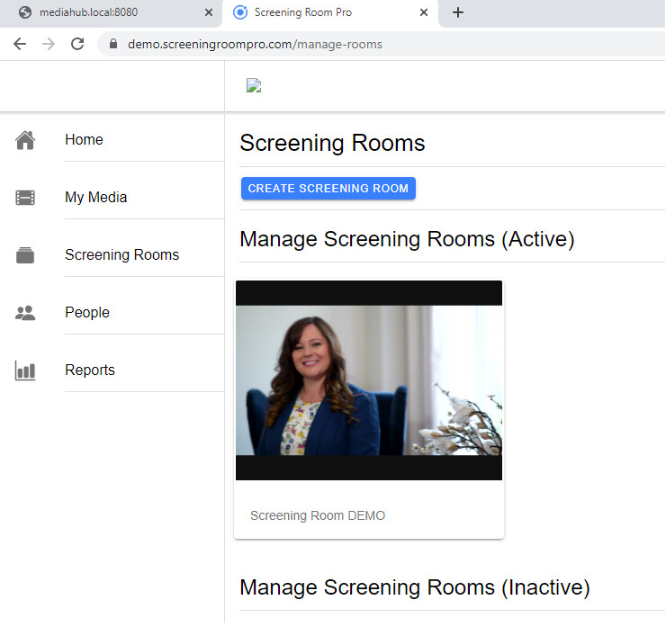
17. Click on room to manage it.
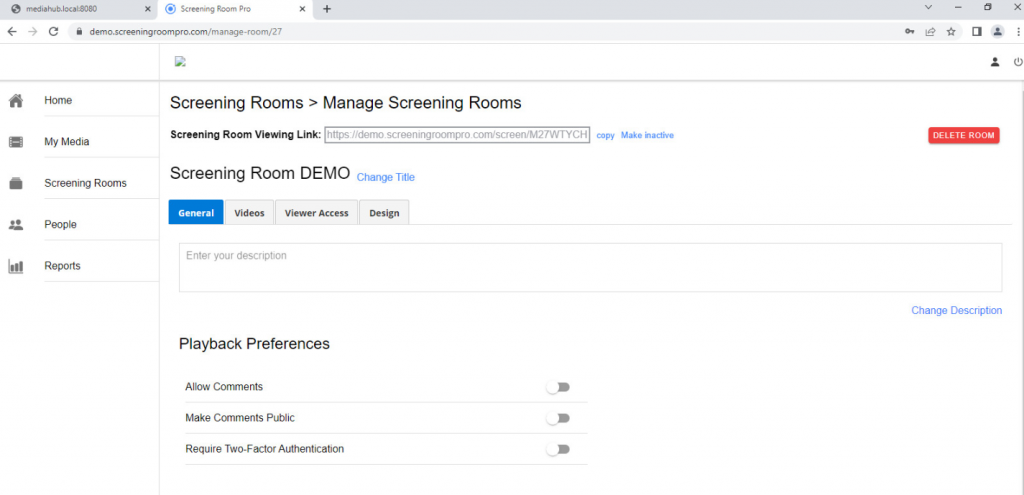
18.Click copy and the link will get copied to your clipboard.
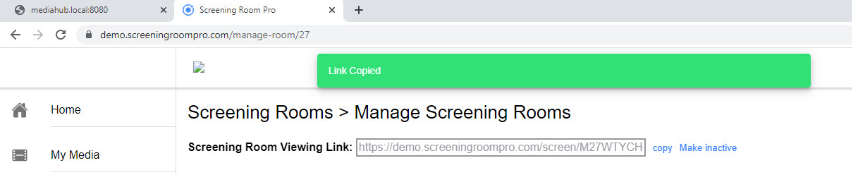
Here is the link for this room – https://demo.screeningroompro.com/public/multi?return=%2Fscreen%2FM27WTYCH
Note: copy this link into another web browser for testing as you need to log in as a user set as a “Viewer” and not an “Administrator.”)
19. To restrict viewing to specific users, click on “Viewer Access”
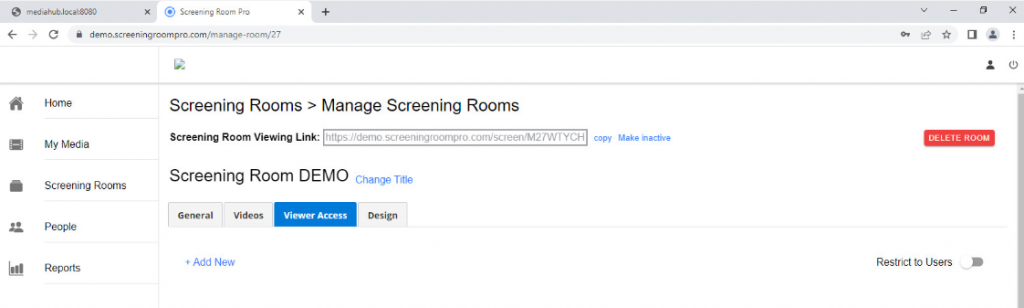
20. Click on “Restrict to Users”
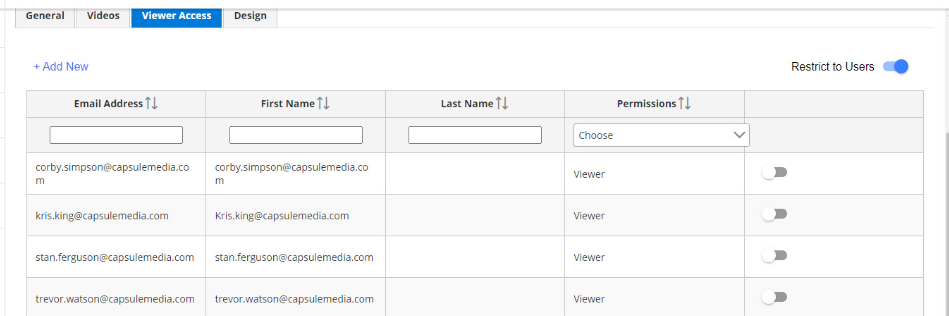
Now you can select who can view the link. If the person you want to send link to is not here you can add them.
21. Click “+ Add User”
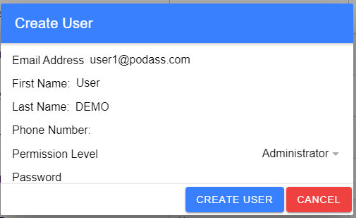
By Default the new user has Administrator access. Be sure to change it to “Viewer” instead.
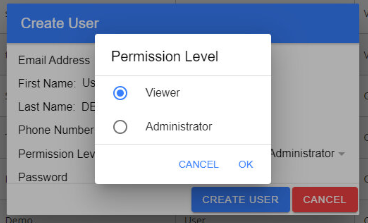
Click “OK” and then click “Create User”

The new user shows up with Viewer Permissions.
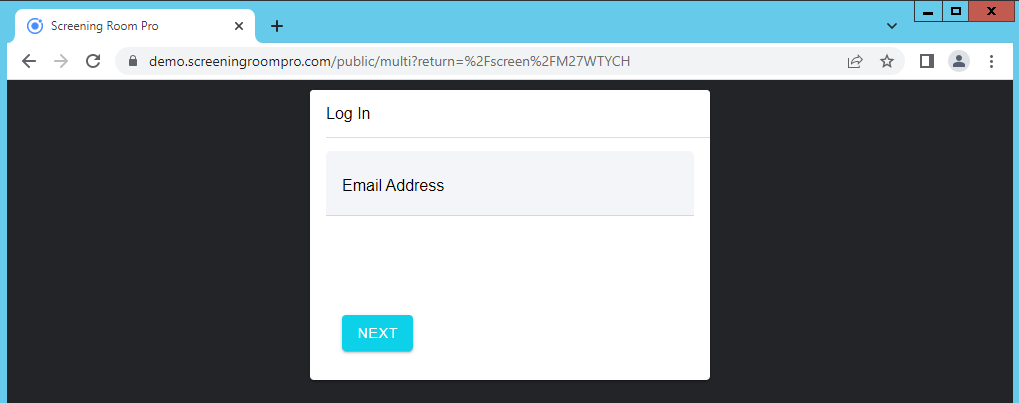
22. You can send the link to a viewer using your email. Send the link to the user and they can login using their email address.
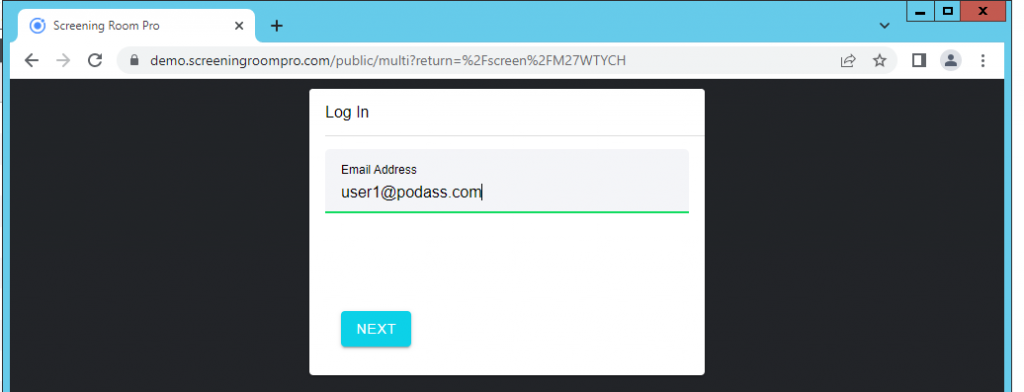
Press “Next”
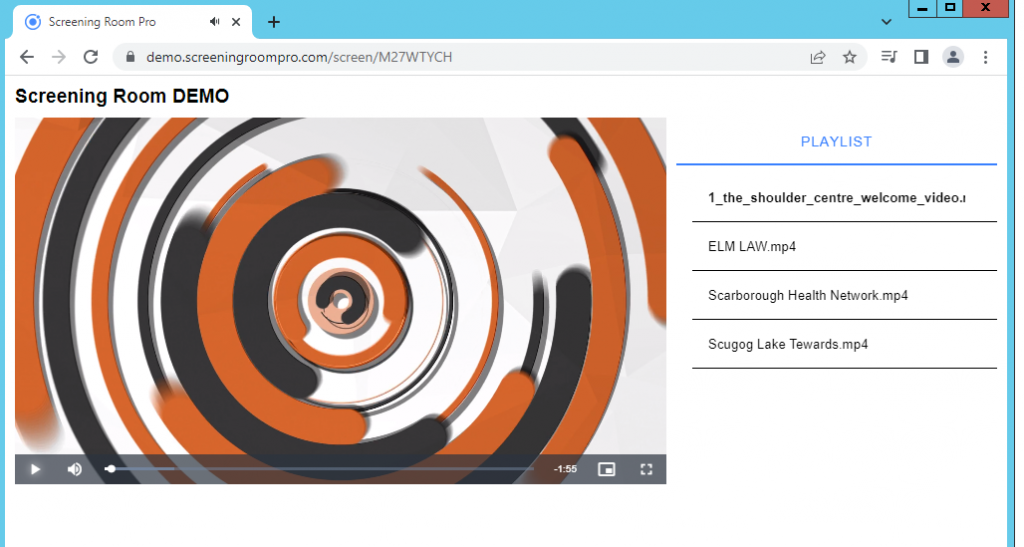
The end user is now able to watch the videos from the list. There are also reports to track you has watched the video on the left panel.
If there are any question’s or issues contact support@capsulemedia.com